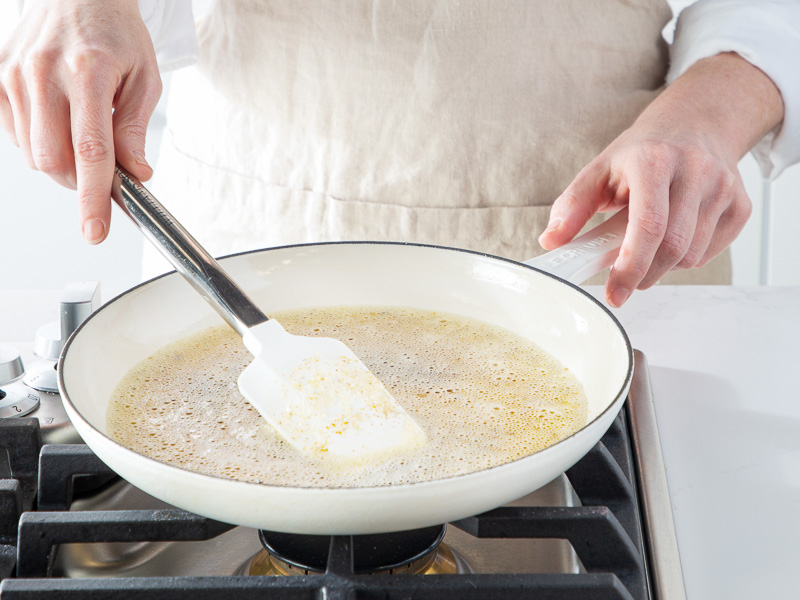
Liquid gold, in the baking world, browned butter is the nutty, caramel-colored ingredient that’ll take all your bakes to the next level. This guide will have you making seriously simple browned butter-radiant with flavor-like a pro in no time.
FIRST OFF, WHAT IS IT?
Butter is made up of milk fat, water, and milk solids. Most American butters sit at about 80% milk fat, 18% water, and 2% milk solids. European-style butters are required to contain 82% milk fat or higher, which means that they’ll ultimately have a lower water content. When you brown butter, you’re doing two things. First, you’re cooking off all the water. All that bubbling and fizzing that occurs when you’re making browned butter is the water cooking out and evaporating. Because European-style butter contains less water than American butter, it’ll typically cook a little quicker. And second, you’re browning the milk solids. The browned milk solids are what give browned butter its signature golden hue and nutty flavor.
THE TOOLS
The Pan: You’ll want to use a light-colored pan. The contrast
will allow you to see the butter browning more clearly.
The Stirrer: Swirling the pan or stirring with a silicone spatula
is typically the best way to keep the butter moving so heat is distributed evenly. A whisk also works well.
The Heat: On an electric cooktop, browned butter will take a little bit more time. A gas range supplies steady, even heat, while electric cooktops often cycle heat.
THE TECHNIQUE


1. In a medium light-colored skillet, melt butter over medium heat. Cook, stirring or swirling skillet frequently, until butter turns a medium-brown color and has a nutty aroma. The time this takes will vary depending on the amount of butter you’re browning, but typically, this will take about 10 minutes for 1 to 2 cups (227 to 454 grams) of butter. What’s most important is that you keep an eye on your pan. The butter will very quickly go from browned to burnt, so err on the side of caution: remove the pan from the heat to stir, let the foam subside, and check on the color as it gets closer to being done.
2. Remove from heat, and pour into a heatproof bowl. Let cool completely. Cover and refrigerate for up to 2 weeks. The second you think your browned butter is done, remove it from the heat and pour it into a bowl or container; even the residual heat of your pan or stovetop could be enough to burn the milk solids.
A VARIATION IN VOLUME

When you make browned butter, you’re cooking off the butter’s
water content. If water makes up about 18% of a stick of butter, that
means that browned butter will reduce in volume and weight by at
least 18%, if not more. For example, 100 grams of butter will reduce
to about 80 grams of browned butter.
WHAT ABOUT CLARIFIED BUTTER
AND GHEE?
Neither clarified butter nor ghee contains the milk solids necessary to make browned butter. Clarified butter is pure butterfat, with no water or milk solids. Meanwhile, ghee is cooked a little longer than clarified butter to remove all the moisture and brown the milk solids (not to the same degree as browned butter) before they’re strained out.
MAKE-AHEAD MAGIC
Many of our recipes call for browned butter that’s been cooled, so feel free to make a batch ahead of time and store it in your refrigerator so you can have browned butter on the fly. Excellent for baking and cooking in both sweet and savory applications, it’s a wonder ingredient that’ll turn buttery dishes and bakes from delicious to decadent.


